Creating and Optimizing Sitelinks on GitHub Pages for Better SEO
Introduction to GitHub Pages
GitHub Pages is a popular platform for hosting static websites directly from a GitHub repository. It’s an ideal choice for personal projects, documentation, or portfolios due to its simplicity and integration with version control. In this section, we will explore the basics of GitHub Pages, its benefits, and how it works.
GitHub Pages is free and supports custom domains, making it a cost-effective solution for web hosting. It’s designed to serve static files, including HTML, CSS, JavaScript, and images, which means there’s no server-side processing involved. This simplicity ensures fast loading times and easy deployment.
To get started with GitHub Pages, you need a GitHub account and a repository. Once you have these, you can create a new repository or use an existing one. By pushing your code to the main branch or a branch named gh-pages, GitHub automatically builds and deploys your site.
One of the key features of GitHub Pages is its integration with Jekyll, a static site generator. Jekyll allows you to use templates, Markdown, and plugins to create dynamic and reusable content. Understanding the basics of Jekyll can greatly enhance your GitHub Pages site.
In summary, GitHub Pages offers a straightforward and powerful way to host static websites. Its integration with GitHub’s version control and Jekyll’s templating system makes it a versatile platform for a wide range of projects.
Setting Up a GitHub Pages Site
Before diving into creating sitelinks, let’s first set up a basic GitHub Pages site. This section will guide you through the process of creating a repository, configuring GitHub Pages, and verifying your site is live.
First, log in to your GitHub account and navigate to the homepage. Click on the “New repository” button to create a new repository. Give your repository a name, add a description, and choose whether it will be public or private. Ensure to check the “Initialize this repository with a README” box.
After creating the repository, go to the repository settings. Scroll down to the “GitHub Pages” section. Under “Source,” select the branch you want to use for GitHub Pages (usually main or gh-pages). If you want to use a specific folder like /docs, specify it here.
Save your changes, and GitHub will start building your site. After a few moments, you will see a URL where your site is live. Click the link to verify that your site is up and running. At this point, you have a basic GitHub Pages site.
Next, create a simple HTML file to serve as the homepage. In your repository, create a file named index.html with the following content:
<!DOCTYPE html>
<html lang="en">
<head>
  <meta charset="UTF-8">
  <meta name="viewport" content="width=device-width, initial-scale=1.0">
  <title>My GitHub Page</title>
</head>
<body>
  <h1>Welcome to My GitHub Page</h1>
  <p>This is a simple GitHub Pages site.</p>
</body>
</html>
Commit and push this file to your repository. Refresh your site’s URL to see your new homepage. Congratulations, you’ve set up a basic GitHub Pages site!
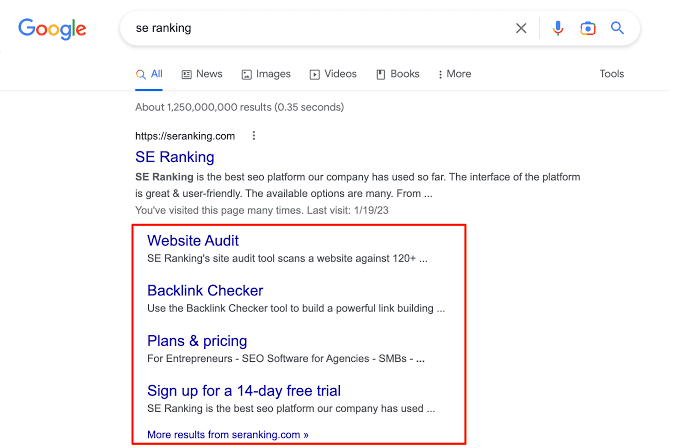
Understanding Sitelinks and Their Importance
Sitelinks are additional links that appear under the main URL in search engine results. They provide quick access to important pages within a website, enhancing navigation and improving user experience. This section explains what sitelinks are, why they are important, and how they can benefit your GitHub Pages site.
Sitelinks are automatically generated by search engines based on the structure and content of your website. They typically appear for branded searches and can include links to popular or high-traffic pages. Sitelinks make it easier for users to find specific content on your site directly from the search results.
One of the main benefits of sitelinks is improved click-through rates (CTR). Users are more likely to click on a search result with sitelinks because it provides direct access to relevant pages. This can lead to increased traffic and better user engagement.
Another advantage is enhanced navigation. Sitelinks allow users to bypass the homepage and go directly to the content they are interested in. This reduces the number of clicks needed to reach specific pages, resulting in a more efficient and user-friendly experience.
For website owners, sitelinks can help highlight important sections of their site. For instance, if you have a portfolio, documentation, or a blog, sitelinks can make these sections more visible and accessible. This can be particularly beneficial for promoting key content or services.
Optimizing Your GitHub Pages Site for Sitelinks
Now that you have a well-structured site with a navigation menu, it’s time to optimize your content for sitelinks. This section covers best practices for SEO, including meta tags, headings, and internal linking.
First, ensure each page has a unique and descriptive title tag. The title tag is one of the most important on-page SEO elements. For example, in your about.html, the title tag should accurately reflect the content:
<title>About Me - My GitHub Page</title>
Next, use heading tags (<h1>, <h2>, etc.) to structure your content. Headings help search engines understand the hierarchy and importance of different sections on your page. Each page should have one <h1> tag, with subsequent headings used in a logical order.
Internal linking is another crucial aspect of SEO. Ensure that your pages are interlinked where relevant. For example, within your about.html, you can link to your projects page:
<p>Check out my <a href="projects.html">projects</a> to see what I have been working on.</p>
Meta descriptions are also important. While they don’t directly affect rankings, they can influence click-through rates. Each page should have a unique meta description that accurately describes the content. For example, in about.html:
<meta name="description" content="Learn more about me and my background on this page.">
Additionally, ensure your URLs are clean and descriptive. Avoid using long query strings or unnecessary parameters. A clean URL structure helps both users and search engines understand the content of your pages.
Regularly update your content to keep it fresh and relevant. Search engines favor websites that frequently update their content. Add new projects, blog posts, or updates to your site to keep it active.
Finally, consider using structured data markup to provide additional context to search engines. Structured data helps search engines understand the content of your site better, which can improve your chances of getting sitelinks. For example, you can add breadcrumbs markup to indicate the hierarchy of your pages:
<script type="application/ld+json">
{
  "@context": "https://schema.org",
  "@type": "BreadcrumbList",
  "itemListElement": [
    {
      "@type": "ListItem",
      "position": 1,
      "name": "Home",
      "item": "https://yourgithubpage.github.io/"
    },
    {
      "@type": "ListItem",
      "position": 2,
      "name": "About",
      "item": "https://yourgithubpage.github.io/about.html"
    }
  ]
}
</script>
By following these best practices, you can optimize your GitHub Pages site for sitelinks and improve your site’s overall SEO.


